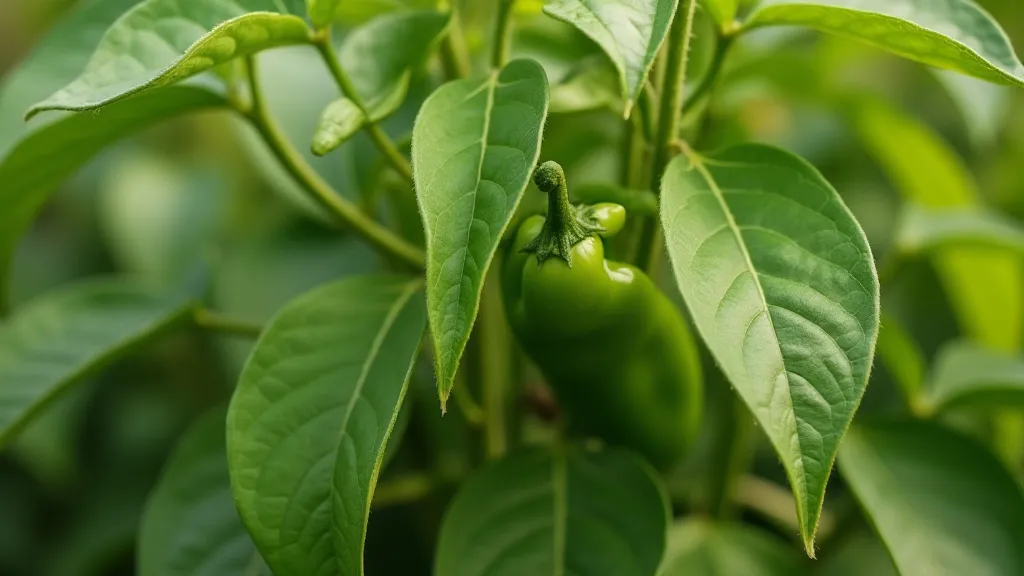
Planting Your Peppers: Step-by-Step Guide for Success
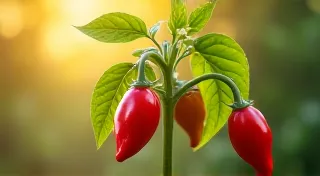
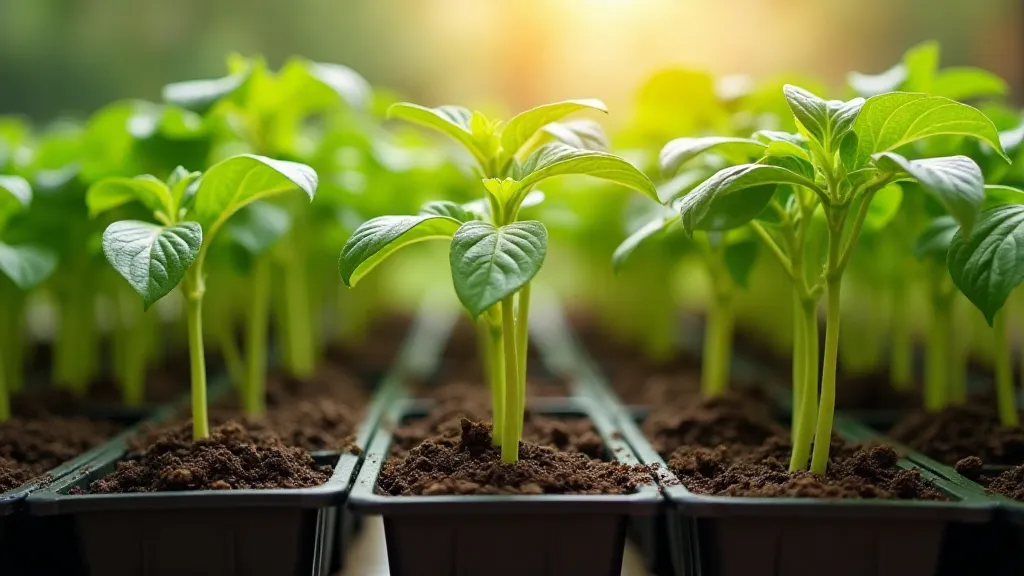
So, you’ve nurtured your pepper seedlings – congratulations! Now comes the exciting part: transplanting them into the ground. Growing specialty peppers, like ghost peppers and scotch bonnets, requires a bit more attention than your average bell pepper, but with this detailed, step-by-step guide, you’re well on your way to a bountiful harvest.
Choosing the Right Time to Plant
Timing is crucial. Wait until all danger of frost has passed and the soil has warmed up. Ideal soil temperature for planting pepper seedlings is between 65°F and 75°F (18°C and 24°C). If you’re unsure, a soil thermometer is your best friend! Planting too early can stunt growth or even kill your pepper plants.
Choosing the Right Location
Peppers crave sunshine! Select a spot that receives at least 6-8 hours of direct sunlight per day. Good drainage is equally important. Peppers don't like soggy roots. Amend your soil with compost or well-rotted manure to improve drainage and fertility.
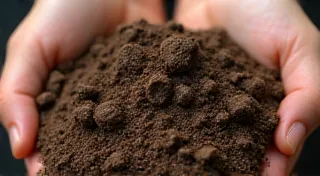
Preparing the Soil
Before planting, loosen the soil to a depth of 12-18 inches. Remove any rocks or debris. A soil test is highly recommended – it will tell you the pH level and nutrient content of your soil. Peppers prefer a slightly acidic soil (pH 6.0-6.8). Adjust as needed based on the test results. Adding compost or a balanced fertilizer before planting provides a good starting point.
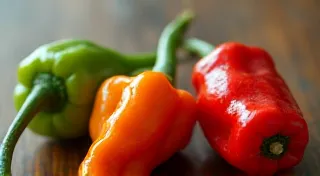
Spacing Your Pepper Plants
Proper spacing is vital for healthy growth and good air circulation, which helps prevent disease. Spacing depends on the variety:
- Smaller varieties (jalapeños, habaneros): 18-24 inches apart
- Medium varieties (scotch bonnets): 24-36 inches apart
- Larger varieties (ghost peppers, some bell peppers): 36-48 inches apart
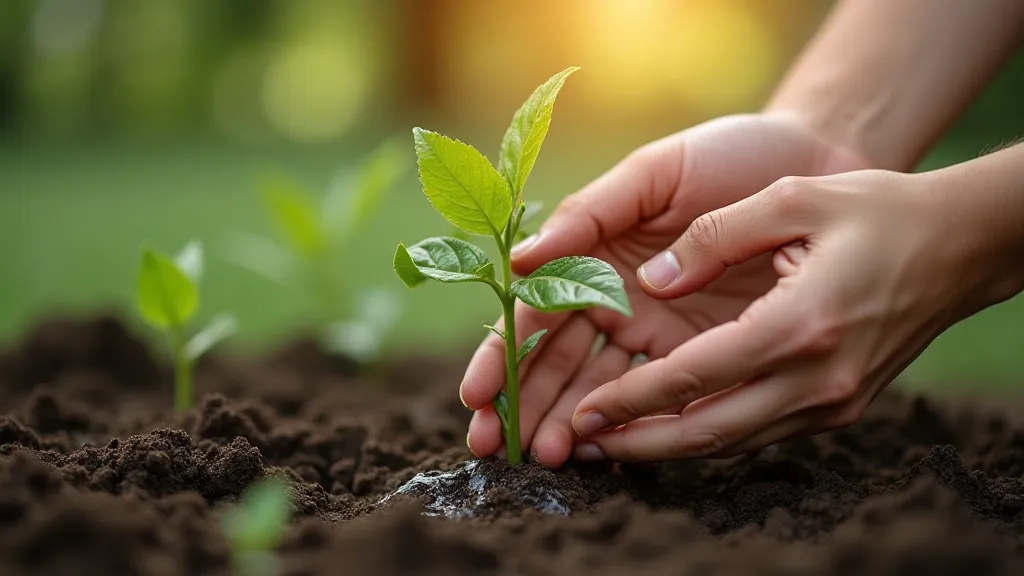
The Planting Process: Step-by-Step
- Dig the Hole: Dig a hole slightly larger than the root ball of your seedling.
- Gently Remove the Seedling: Carefully loosen the seedling from its container. Avoid pulling on the stem – gently coax it out, supporting the root ball.
- Planting Depth: Peppers can actually benefit from being planted slightly deeper than they were in their original container. Burying the stem up to the first set of leaves encourages more root growth.
- Position the Plant: Place the seedling in the hole, ensuring the top of the root ball is level with the soil surface.
- Backfill the Hole: Gently fill the hole with soil, tamping it down lightly to remove air pockets.
- Water Thoroughly: Water the newly planted seedlings immediately after transplanting. This helps settle the soil and reduces transplant shock.
Post-Planting Care
Watering: Keep the soil consistently moist but not soggy, especially during the first few weeks after transplanting. Water deeply and less frequently, rather than shallowly and often.
Fertilizing: Feed your pepper plants with a balanced fertilizer every 2-3 weeks. Avoid over-fertilizing, as this can lead to excessive foliage growth at the expense of pepper production.
Staking (optional): Some larger or top-heavy pepper varieties (like ghost peppers) may benefit from staking to prevent them from falling over.
Mulching (optional): A layer of organic mulch (like straw or wood chips) around the base of the plants helps retain moisture, suppress weeds, and regulate soil temperature.
Dealing with Transplant Shock
Transplant shock is common, and plants might look droopy for a few days. Don't panic! Keep the soil consistently moist and provide some shade during the hottest part of the day. With proper care, your pepper plants should bounce back quickly.
Enjoying Your Harvest
With patience and attention to detail, you're well on your way to enjoying a delicious harvest of specialty peppers! Remember to monitor your plants regularly for any signs of pests or diseases and adjust your care accordingly. Happy growing!